Bubbling Made Easy
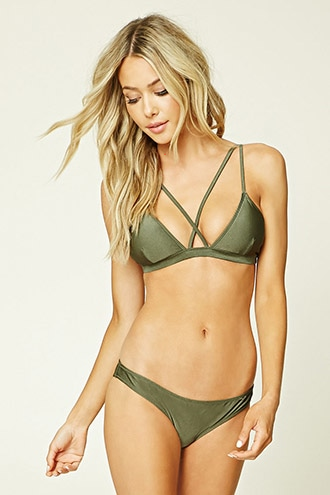
- Copy image url to image input box or upload one from your computer
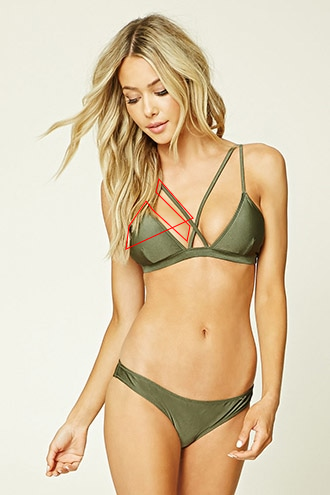
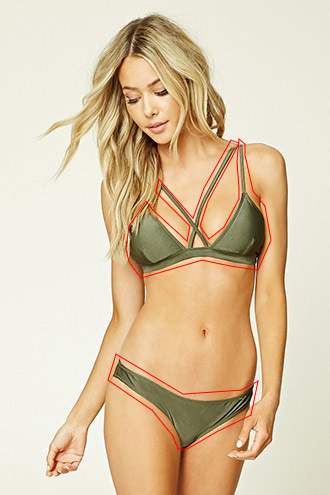
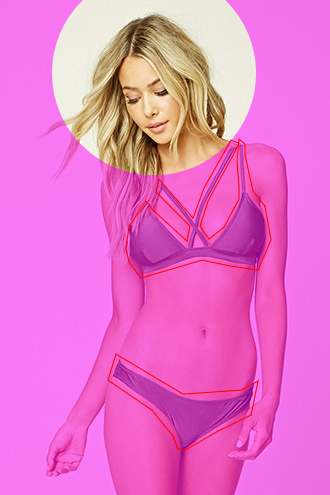
- In polygon mode outline the areas to be hidden
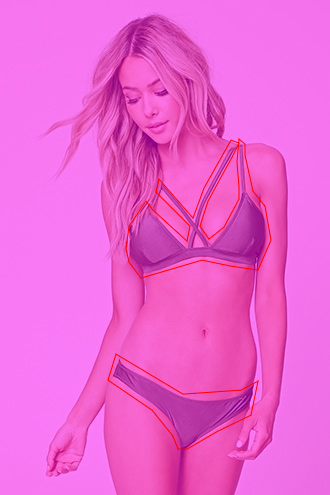
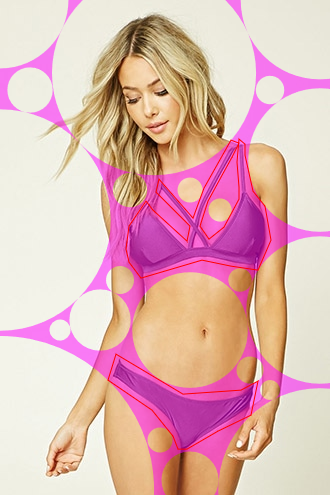
- In bubble mode create bubbles by clicking
- Click auto bubble to fill in bubbles automatically
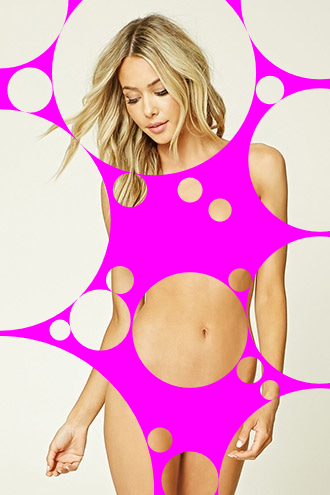
- Change to finish mode to view your work
- Right click image and choose save image as to save image
What does anything do
- Mode: Switches between polygon, bubble, and finished mode.
- Polygon Mode: Click to add points to the polygon to define areas that you do not want to see
- Bubble Mode: Shows a translucent layer over image. Click to place a bubble whose size is constrained by polygons and other bubbles.
- Finished Mode: Shows an opaque layer over image. Right click and select "Save Image as" to save.
- Image text box: place url of the image you want to bubble here
- Image browsing button: upload picture from your computer
- Polygons dropdown menu: switch between which polygon you are working on.
- Add Polygon Button: Creates new polygon to isolate separate areas.
- Clear Polygon Button: Clear Current Polygon to start over
- Undo Polygon Button: Removes last point added to Current Polygon
- Clear Bubbles: Removes all Bubbles
- Auto Bubbles: Automatically fills in bubbles down to the minimum radius checking pixels spaced by the spacing field
- Color Input: change color of the filter layer with hexidecimal rgb code
Issues
- Google Chrome doesn't allow http content in a https site. Since Neocities uses https http urls won't work
- Image hosts that don't allow hot linking won't work
- In these cases download the picture and use the browse button to use the picture from your computer instead
- If AutoBubble is taking too long increase the values of Min radius and spacing. If you still want more bubbles you can add them manually or keep clicking AutoBubble. (Due to somewhat lazy programming on my part at least one bubble will always appear.)


